Why the bowel has so much say over the bladder
The bladder and the bowel sit side by side, low in the pelvis, held by the same sheet of muscle. When the bowel is full and hard, it takes up room. The bladder has less space to fill, so it signals sooner and more insistently.
Then there is the straining. Pushing hard on the toilet drives pressure down through the pelvic floor, again and again, for minutes at a time. That is the same downward load as a heavy lift, except you are doing it sitting still, several times a week, possibly for years.
So if you are training your pelvic floor and still leaking, and your bowels are slow, you are pulling in two directions at once. Softening the stool and changing how you sit on the toilet often does more for the bladder in a fortnight than another set of squeezes.
Step one: notice what your bowel is actually doing
Many women have been slightly constipated for so long that it reads as normal. The markers worth noticing are not about frequency. They are about effort and finish.
Ask yourself: do I have to push? Does it take more than a few minutes? Do stools come out hard, in lumps or pellets? Do I get up feeling I have not finished? Do I use a finger, or press on the back passage, to help things along? Any of these counts, even if you go every day.
Keep an eye on it for a week. Note the days you strained and the days you leaked or felt urgent. Many women find the pattern lines up more often than they expected.
Step two: change how you sit, before you change anything else
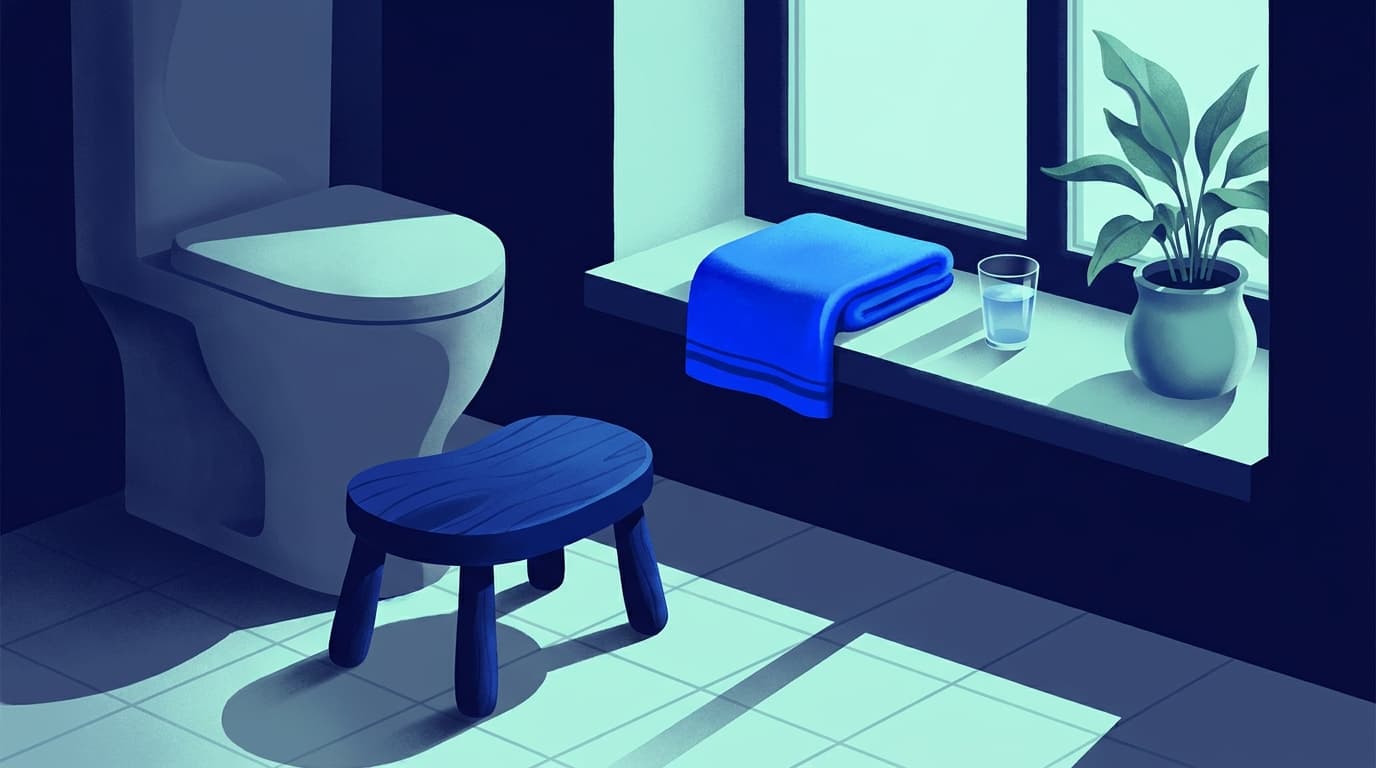
Sitting on a standard toilet puts your body at an angle that partly kinks the back passage. Raising your knees above your hips straightens it out. A small stool, a stack of books, an upturned box — anything that lifts your feet six to eight inches will do.
Then lean forward, elbows on knees, and let your belly go soft and round rather than pulling it in. A held-in stomach works against you here.
This one change costs nothing and takes a week to get used to. For some women it is the whole answer. For others it takes a third of the effort out, which is still a third less pressure on the pelvic floor.
Step three: breathe out instead of pushing down
The instinct is to hold your breath and bear down. That shoves everything downwards, including the bladder neck and the pelvic floor you are trying to strengthen.
Try this instead. Sit as described above. Breathe in through your nose, let the belly widen. Then breathe out slowly through a soft open mouth — some women make a quiet "shhh" or "haa" sound — and let the belly stay wide as you breathe out. The pressure goes outwards into the abdomen rather than straight down.
Give it time. Sit, breathe, wait. If nothing happens after a few minutes, get up and come back later. Sitting and straining for ten minutes does more harm than leaving it.
Step four: soften the stool, not just speed it up
Hard stool is what forces the straining. Two things soften it: fluid and the right kind of fibre.
Fluid first, because fibre without fluid can make things worse. Many women with leaks quietly cut back on drinking to reduce trips to the toilet, and the bowel pays for it. Spread your drinks through the day rather than loading the evening.
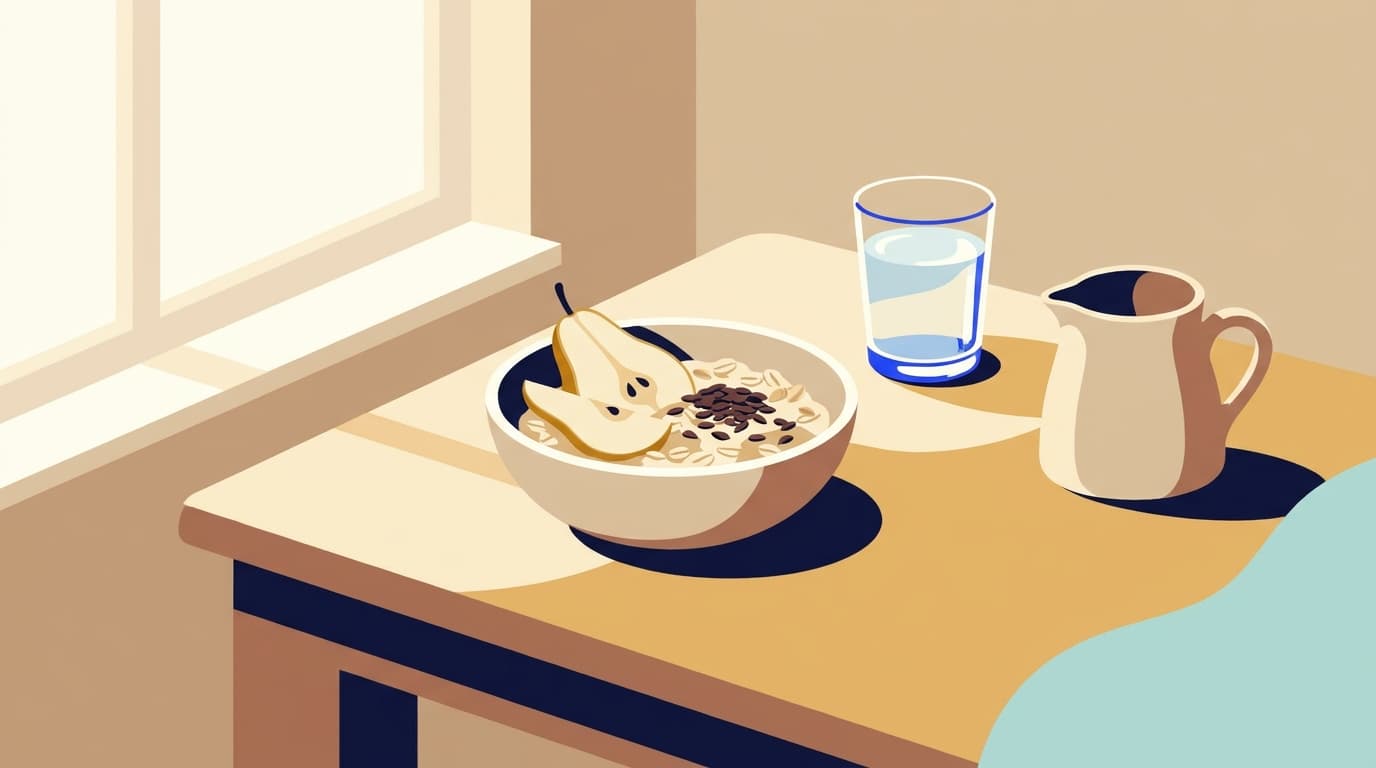
For fibre, think soluble: oats, linseed, psyllium, cooked vegetables, pears, prunes, kiwi. Add one thing at a time and give it a week or two. Bran piled on all at once tends to produce wind and bloating, which presses on the bladder in its own right.
Also read: 8 Things Women Get Wrong About Drinking and the Bladder · Why This Week Is Worse Than Last Week: 7 Reasons Pelvic Floor Progress Stalls
Step five: use the window your body gives you
The bowel is most active in the half hour after waking and after a meal, especially a warm one. That is the easiest window to work with.
So: get up, have something warm to drink and something to eat, and then sit — unhurried, feet up, leaning forward. Even if nothing comes for the first few days, the body learns the routine.
The flip side matters too. When you get the urge, go. Holding on repeatedly means the stool sits longer, loses water and gets harder, which brings the straining back.
Step six: keep the pelvic floor work going, but change its timing
Constipation is not a reason to stop training. It is a reason to put some of your squeezes where they do the most good — around moments of pressure.
Practise a gentle lift and hold before you stand up, before you cough, before you lift a wash basket. And learn the opposite skill too: letting the pelvic floor fully relax and widen, which is exactly what you need on the toilet. A pelvic floor that only knows how to grip can make emptying harder.
If your squeezes feel vague, or you are not sure you are finding the right muscle, that is worth sorting out before adding more repetitions.
Step seven: know what is not a plumbing problem
Most slow bowels respond to sitting position, fluid, fibre and a steady routine. Some do not, and some signs should go straight to your doctor rather than into a self-help plan.
Blood in the stool, a lasting change in your usual pattern, unexplained weight loss, pain, fever, or a new feeling of bulging or heaviness in the vagina — these need an appointment, not another week of prunes. The same goes for needing to press inside the vagina to empty your bowels. It has a cause, and it can be looked at.
Otherwise, give the changes six to eight weeks. Keep the toilet stool out where you will use it. Keep drinking across the day. Keep the training going alongside. Progress here is quiet and cumulative: less effort on the toilet, less downward load, and a bladder that has a bit more room and a bit less to complain about.